
Sign up for a Google Analytics account.
- Head to https://analytics.google.com and make sure you’re signed in to your Google account (the email that you used to sign up for any Google products — Gmail, Google Ads, Youtube, Google Tag Manager, etc).
- The following depends if you have an existing Google Analytics account.
If you have an existing Google Analytics account (e.g. Universal Analytics), select Admin ➞ Create a new account.


In the account setup page, add an account name. If you’re not sure what name to give this account a good start is to use an individual, a company, or a brand name.

Note: You can create multiple Google Analytics accounts. Also, It’s not recommended to use the name of your website as your account name as you will add it as a property later. One Google Analytics account can contain multiple properties.
- Once done, click “Next”.
- In the property setup, add a name for your property. The property name should be the name of your website or mobile app. Make sure to set the appropriate time zone and currency for your business/website/app. Then click “Next”.

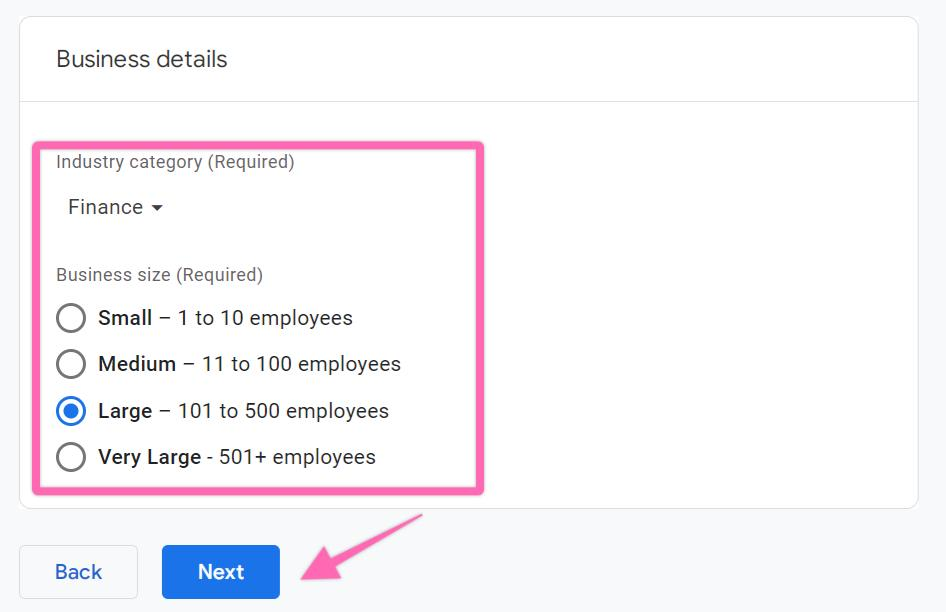
- Fill in the rest of your business details and click “Next”.
Industry category — The niche that your business is in.
Business size — How many employees do you have including yourself?
- Choose your business objectives and click “Create”. You can choose more than one objective.

- Accept Google Analytics terms of service agreement.

- Next, choose where you will be collecting your data such as websites, android apps, or iOS apps. But for this tutorial, we’ll choose Web.

- Add your website URL and add a name for this data stream to help you identify this data. Leave the enhanced measurement enabled by default. Then click “Create stream”.

- You will then see a summary page of the data stream for your site. That means you have successfully created a Google Analytics 4 account.
